Battle Report: Halidon Hill, the forgotten victory
Its July 1333, and an army of some 14,000 Scots is looking across a boggy ravine at Edward III and an outnumbered force of English and Welsh longbows. Edward had recently laid siege to Berwick and the Scottish garrison were desperately waiting for a relief force under SirArchibald Douglas, to arrive before the important port town was completely over run by the English. what followed was the Battle of Halidon Hill.
Prelude to war
Edward III (1312-1377CE) had grown up in the turbulent years of his father’s reign and the subsequent regency of his mother, Isabella of France and her lover, Roger Mortimer, the self styled 1st Earl of March. Edward quickly set about removing Mortimer, having him executed for treason in 1330, allowing the young king to take full console of his kingdom. Throughout the reigns of both his father and grandfather, the Kingdom of Scotland to the north had been a constant thorn in the side of England, with the rebellions of Robert the Bruce and William Wallace plaguing the north of England, giving the English government a serious headache.
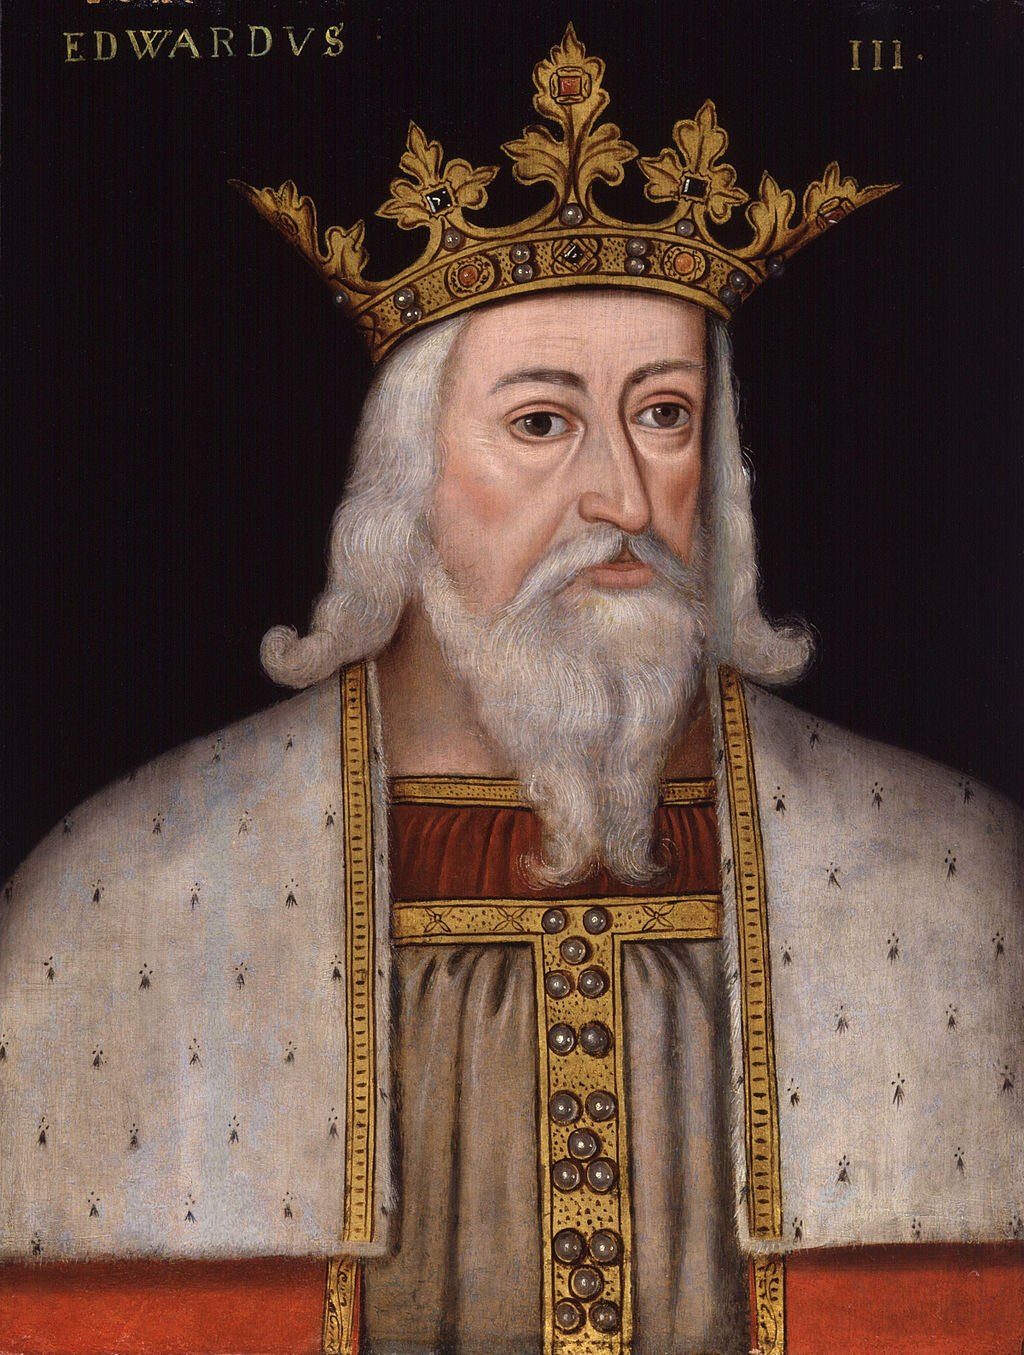
Edward III as he was depicted in the late 16th century SOURCE: Public Domain
To understand the causes of the Battle of Halidon Hill during the second Scottish War of Independence, we need to go back all the way to 1286, when Scottish King, Alexander III died without a male heir. Alexander left a granddaughter, 7 year old Margaret who died before she could ascend to the throne, allowing the then king of England, Edward I, to virtually pick the next king. The choice was between Robert de Bruce and John Balliol, both descended from the Scottish royal family but, Edward chose the more malleable John, who became John I of Scotland. Years of fighting erupted as both sides tried to gain control over the kingdom with Scotland under the Bruce’s eventually coming out on top, after the battle fo Bannokburn in 1314. By the reign of Edward III, many of the English barons that had gained land in the lowlands of Scotland, had lost all of it and were ready to back Edward Balliol, the son of the former king John.
Edward Balliol was declared king of the Scots in 1332, but in reality, held very little control. The Bruce party still had a card to play in the form of David Bruce, who was proclaimed David II soon after. David quickly gained the support of many of the local Scottish lords including Archibald Douglas, Earl of Moray, and pushed Balliol back into the lap of Edward III and the English. At this point, Edward had kept himself out of the conflict but when Edward Balliol promised essentially the whole of southern Scotland to England, Edward dropped everything, and set out for war. He quickly set about gathering an army of roughly 9,000 men most of which were welsh longbowmen, and marched them as quickly as possible towards the Scottish border, dropping his wife Philippa off at Bamburgh castle in Northumbria in the process.
The siege of Berwick
With the second war of Scottish Independence underway, Edward set about taking the important town of Berwick, Berwick sits on the river Tweed, right on the coast of Northumbria and held the key to success in Scotland. the town had changed hands multiple times over the last 30 years and Edward, wanted it back.

An image from an illuminated manuscript showing Edward III at the gates of Berwick in 1333 from the Chroniques de Jean Froissart SOURCE Public domain
After a short siege, Edward had the town ready to surrender. the Chivalric practice for sieges was to allow the defenders some time to attempt to beat back the attackers and Berwick was no exception. Edward gave the defenders some time to be relieved before expecting the garrison to surrender the town without conditions. The date for the relief force was set at 19th July the same year, giving the Scottish forces that were forming under Douglas just a few weeks to gather an army big enough to beat the English in a pitched battle.
Two drastically different armies
The attacking army of Edward III couldn’t have been more different from the massive relief force that the Earl of Moray was bringing to battle. The Scottish tactics and weapon types remained virtually unchanged since the famous battle of Falkirk in 1298, using thick ranks of men with massive spears called ‘Schiltrons’ to decimate oncoming cavalry. The Schiltron was instrumental in the Scottish victory at the Battle of Bannockburn some two decades before, relying on discipline and the enemies need to to attack head on.

A modern depiction of a Scottish Schiltron, stopping oncoming cavalry SOURCE: Pinterest
Were as the Scots were hanging their hat on tried and tested tactics, Edward III wasn’t going to make the same mistakes as his father had done. He decided instead of filling his ranks with thousands of heavily armoured Knights (don’t worry, there were still fancy boys in the army) he decided to bring a massive force of archers from Wales and Cheshire, a deadly force that had shown flashes in his Grandfather, Edward I’s suppression of the welsh in the 1280’s and 90’s. The English and Welsh longbow was a rare combination of power, range and rate of fire, able to fire arrows up to around 150 meters at a rate of 10 to 12 arrows per minute, a rate of fire not achieved again until the First World War.
The two armies would eventually meet just outside of Berwick, with the two vastly different armies overlooking each other, looking across a boggy field between two hills. Both Edward and Douglas hoped to defeat the other, allowing their candidate for the Scottish throne to take full control once and for all.
The Battle of Halidon Hill
On the morning of 19th July 1333, Douglas’ army, made up of over 14,000 men, set up overlooking the English at Berwick on the strategic hill called Witches’ Knowe, peering over at the English who had positioned themselves on Halidon Hill just outside of the town. The strength in position for the Scots was completely negated by their need to attack in order to lift the siege but, they still had their superior numbers to rely on. The Scottish army was set up in three main battles made up of schiltrons with their bristling spears massed up ready to hit the opposing English men-at-arms head on but, nether side was going to be able to use their cavalry as the land between the two positions was wet and boggy meaning the shock and awe charges that medieval battlefields we’re accustomed to seeing, were out of the question.
Edward’s army was outnumbered by over 4,000 men but the King had an ace up his sleeve in the shape of the thousands of English and welsh archers. Edward had his heavily armoured, men-at-arms dismount and form up into three groups, allowing the archers to form up between them. Edward and the English were ready to hold their positions against the onslaught of Scottish spearmen.

A map showing the two armies positions and, the town of Berwick SOURCE: Battlefieldsofbritain.co.uk
As the morning passed over to the early afternoon, both sides grew restless and the english, began to waiver slightly at the pure size of the army that faced them. Edward used his excellent command skills and charisma to reassure his men that ‘God was on their side’ and that they would surly win the day, strengthening the resolve of his men. By midday, the Scots had started their advance down the Witches’ Knowe towards the boggy ground in front of the English lines. The uneven ground below the schiltrons, slowed them down, with men getting stuck in the mud and formations breaking up, this gave Edward an opportunity. He ordered his archers to advance and fire on the marooned men at the bottom of the hill and it was at this point, that the full power and deadlines of the longbow was realised. The combination of range, power and unbelievable fire rate of the bow made it the machine gun of the 14th and 15th centuries. Obviously not every single archer would be firing at the rate of 10 to 12 arrows per minute previously mentioned, as it took an enormous amount of strength to pull back the bow string on such a powerful tool but, even if the fire rate was just one or two arrows per minute, the amount of arrows fired would have been immense.
The Scottish lines began to panic and struggle through the mud and hail of arrows desperately trying to get to some sort of safety but, upon seeing the banners of Edward Balliol on the left of the English lines, the Earl of Moray pushed his schiltron forward towards the Scottish pretender looking to make a decisive move. After trudging through the mud and blood, through the hailstorm of arrows and up the steep side of the hill, Moray’s men finally reached the lines of the English but, with only a few dozen fighting men left, the Scottish lines quickly broke under the weight of both men and arrow. Both the centre and left schiltrons faired little better than the now routing right flank, and after meeting King Edward’s men head on, they too began to fall back. The Scottish nobility that had left their steads on the top of the Witches’ Knowe, hurried to mount up and get out of the now doomed battle but when they arrived at the top they realised that their horses had disappeared, along with Scottish reinforcements that had likely used the horses to escape the battle when they saw the day turn in favour of the English. This allowed the dismounted English cavalry to get saddled up and smash directly into the backs of the retreating Scottish, further adding to the misery of the day.

A drawing showing the Scots charging at the English Lines SOURCE: Public domain
By the end of the day, thousands and thousands of Scotsmen lay dead and dying in the bog between the two hills. The exact number of dead is unknown but is likely between of 3,000 and 10,000. On the other side, the English casualties were virtually non existent with some sources stating that as little as 14 men died that day, an unlikely number but a clear indication of the completeness of Edward victory at Halidon Hill. The battle of Halidon Hill as an isolated military incident was nether decisive or important in terms of the long term relationship between both England and Scotland, as Edward didn’t use the success to press on either into Scotland or to fully install Balliol as his king but what it did do, was open Edward’s eyes to the sheer devastation that an army made up of archers and dismounted men-at-arms could do. Without the victory at Halidon Hill, the next 150 years of English military dominance would never have happened and the later victories at Crécy and Agincourt would have likely ended in disaster.
Aftermath
After the defeat and death of Sir Archibald Douglas and much of the Scottish ruling class, Edward soon captured the town fo Berwick, leaving Scotland in the incapable hands of Edward Balliol, who was left alone to cement himself as king, something he never fully achieved. Over the next decade, Edward III attempted several times to force the Scots into submission but the Scots were not ones to roll over, continuing to repel all attempts at English overlordship.
I hope you enjoyed this and would love to hear what you think, please leave me a comment and follow me on Instagram @chrisriley_ for more medieval history!
Thanks for Reading.